Hands On!
Using hands on activities in the classroom is an essential part of a child's learning experience. Allowing students to learn while participating in an exciting activity is very motivating for children in the classroom. Hands on activities give students the opportunity to get involved and interact with one another. This type of learning captures the students' attention and makes them want to learn! I believe that hands on activities should be used in the classroom often to encourage students that learning can be fun and exciting!
The activity provided below is on the circumference of a circle. This activity allows students to use different sized objects to find the circumference, diameter, and radius of the given object. This is a very unique activity because it allows the students to find these things in multiple ways!
______________________________________________________________________________________
Activity:
Circumference, Diameter, Radius, Oh My!
Goals:
·The student will understand how to calculate the circumference of a circle using different objects.
·The student will understand that Pi is the ratio of a circle’s circumference to its diameter.
Objective:
·Given three different objects, the student will calculate the circumference of each object with 100% accuracy.
Materials:
·Pen/pencil
·Ruler
·String
·Paper
·Plate
·Bowl
·Cup
·Worksheet
Vocabulary:
·Circumference: The distance around a closed curve (i.e. a circle or an ellipse).
·Diameter: The distance across a circle through the center.
·Radius: The distance from the center of a circle to any point along the edge of the circle.
·Pi: The ratio of a circle’s circumference to its diameter.
Procedure:
·First, I will assess the students’ prior knowledge by reviewing the vocabulary terms listed above. This will ensure that the students understand what the circumference actually is.
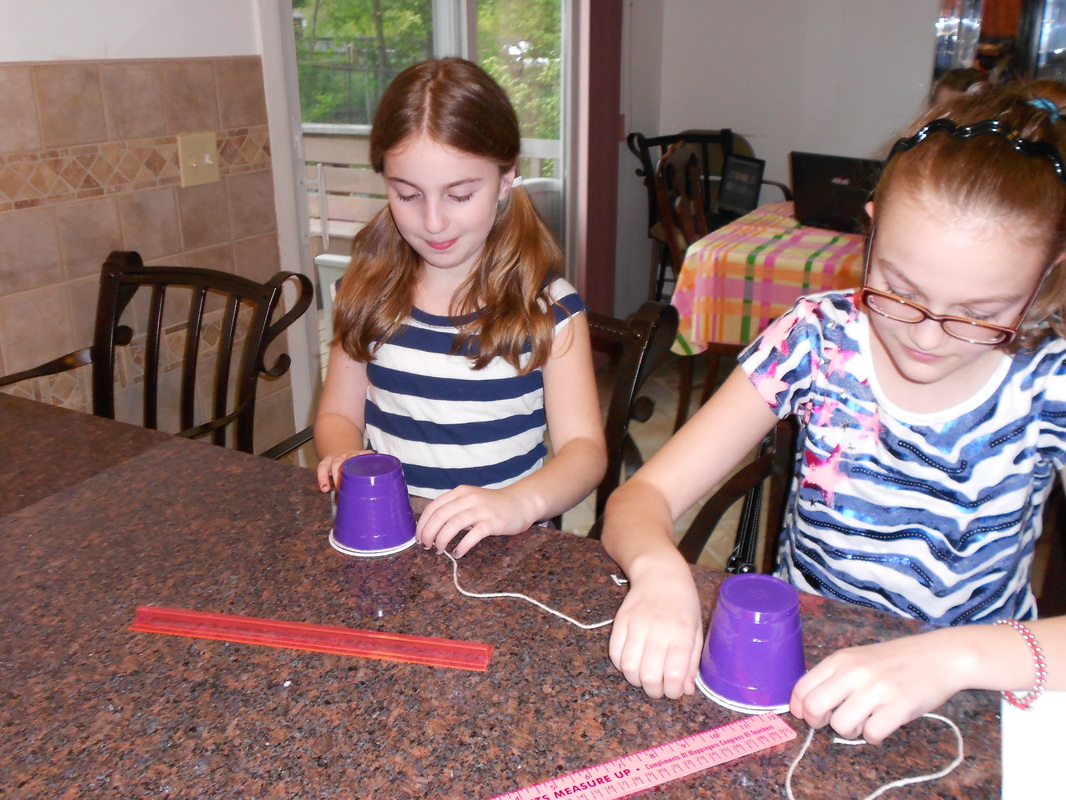
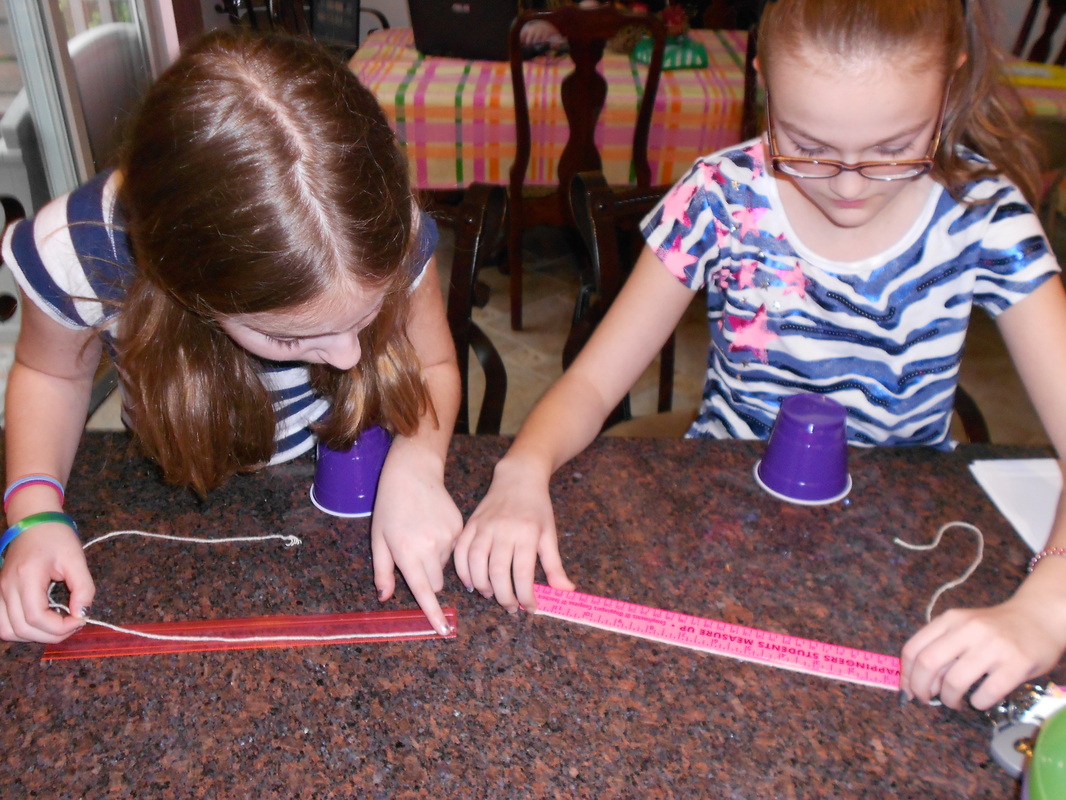
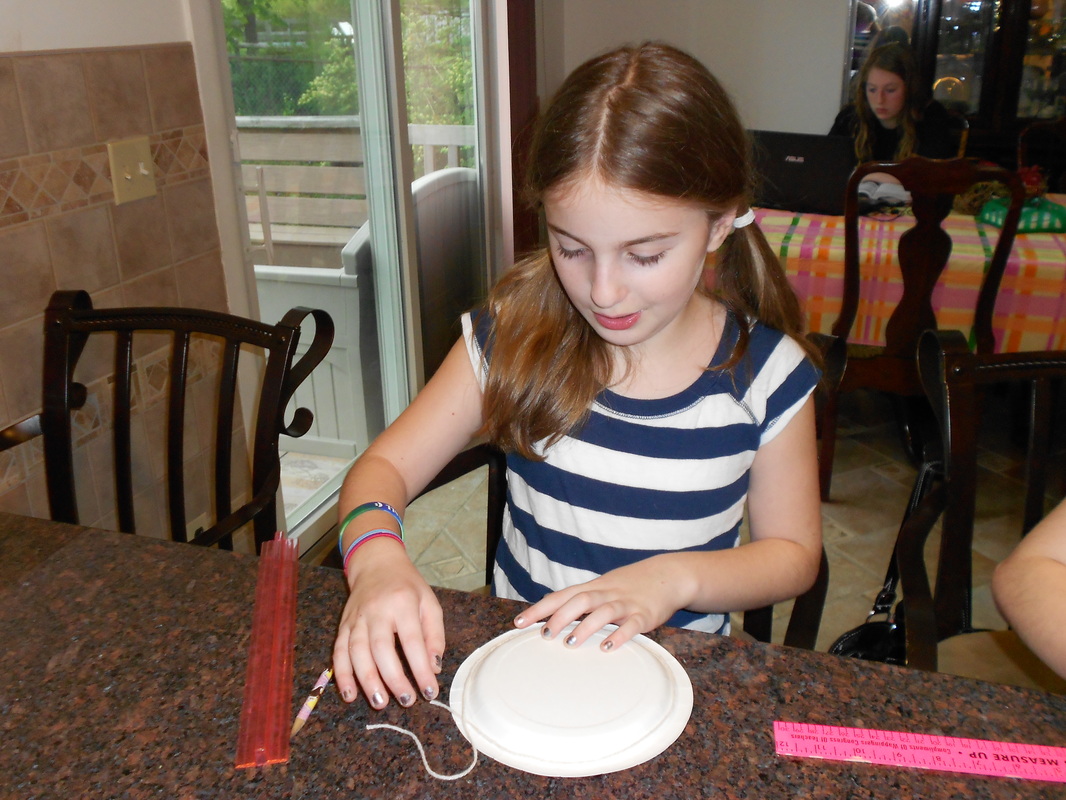
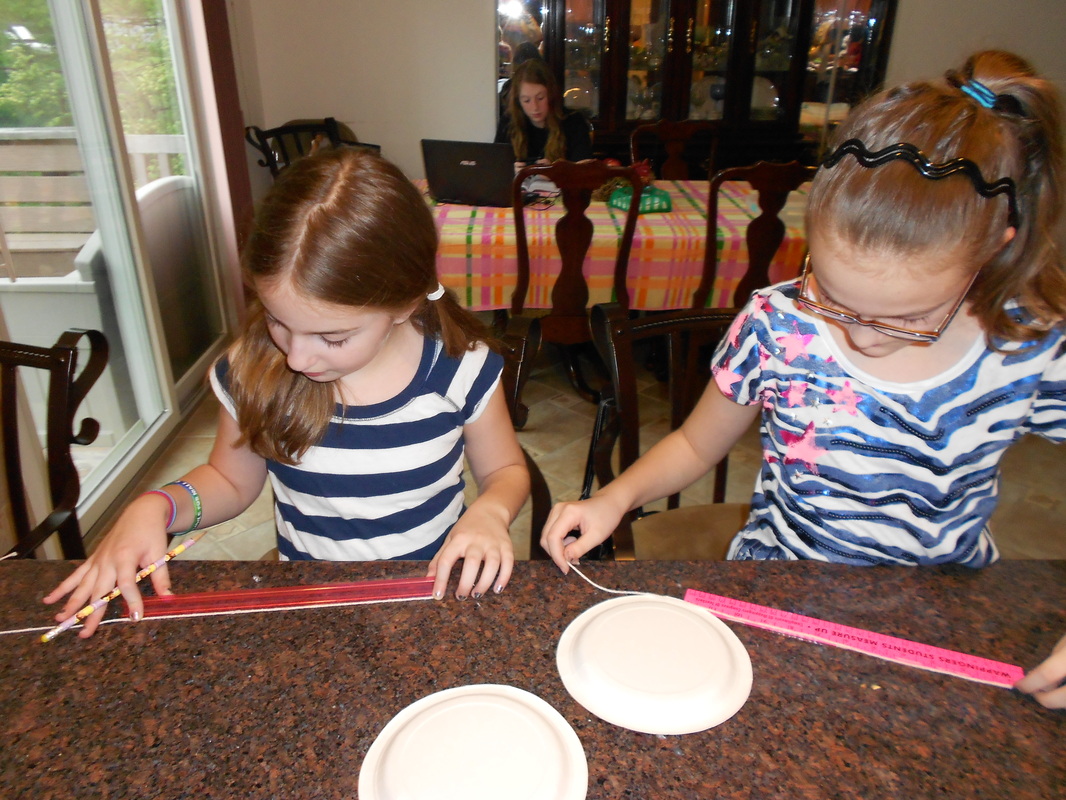
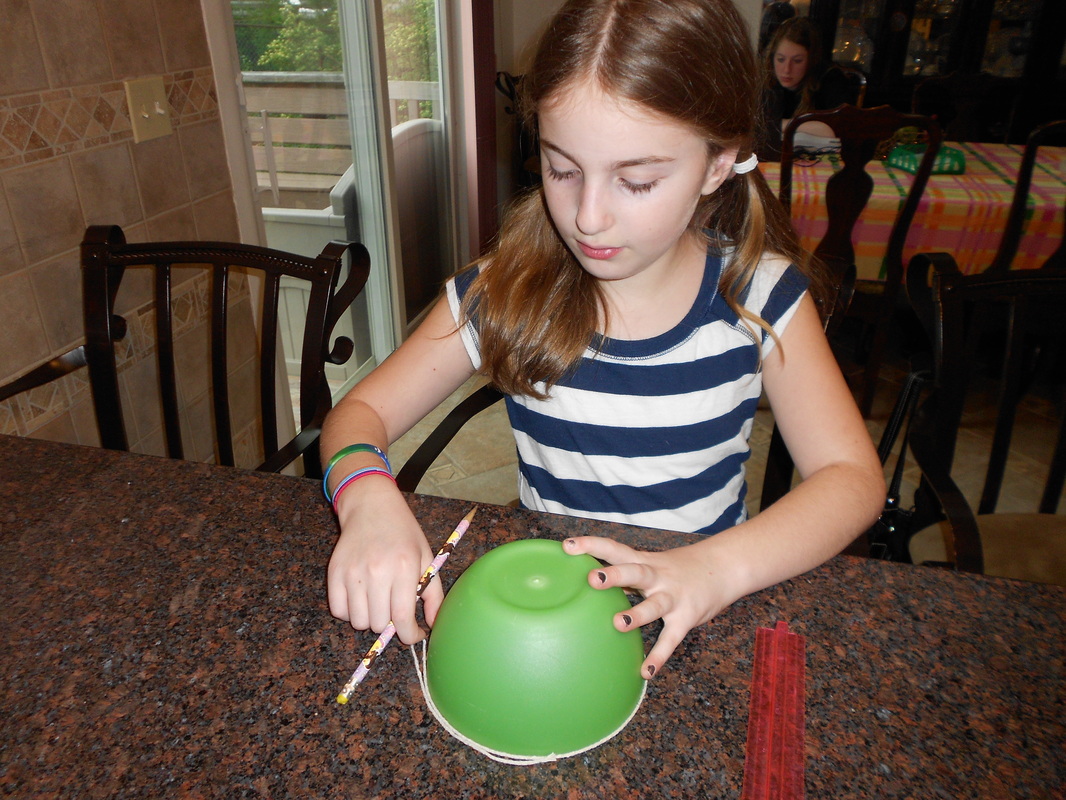
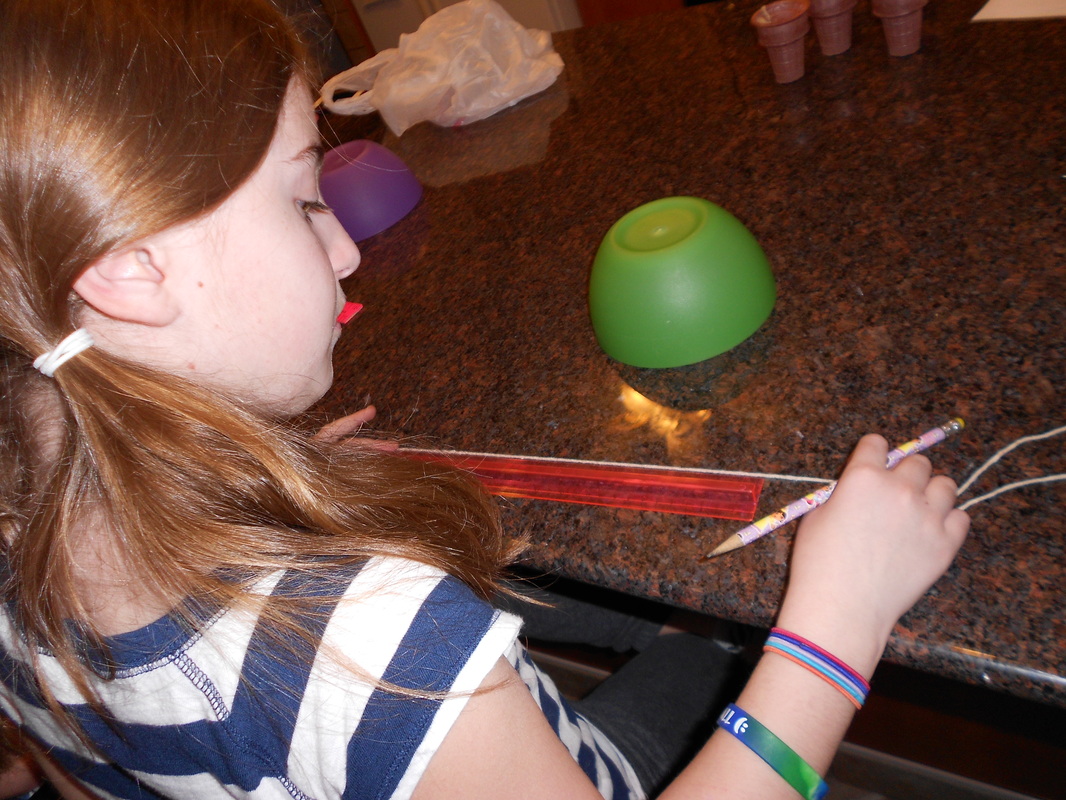
·Next, the students will be given an object and a piece of string. They will be asked to wrap the piece of string around the object. They will then create a mark on the string where the ends meet. Using a ruler, the students will measure the piece of string up to where they drew the mark. The measurement that they will get is the circumference of the circular object. This will allow the students to see the definition of circumference in action.
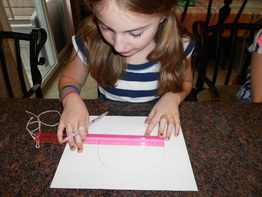
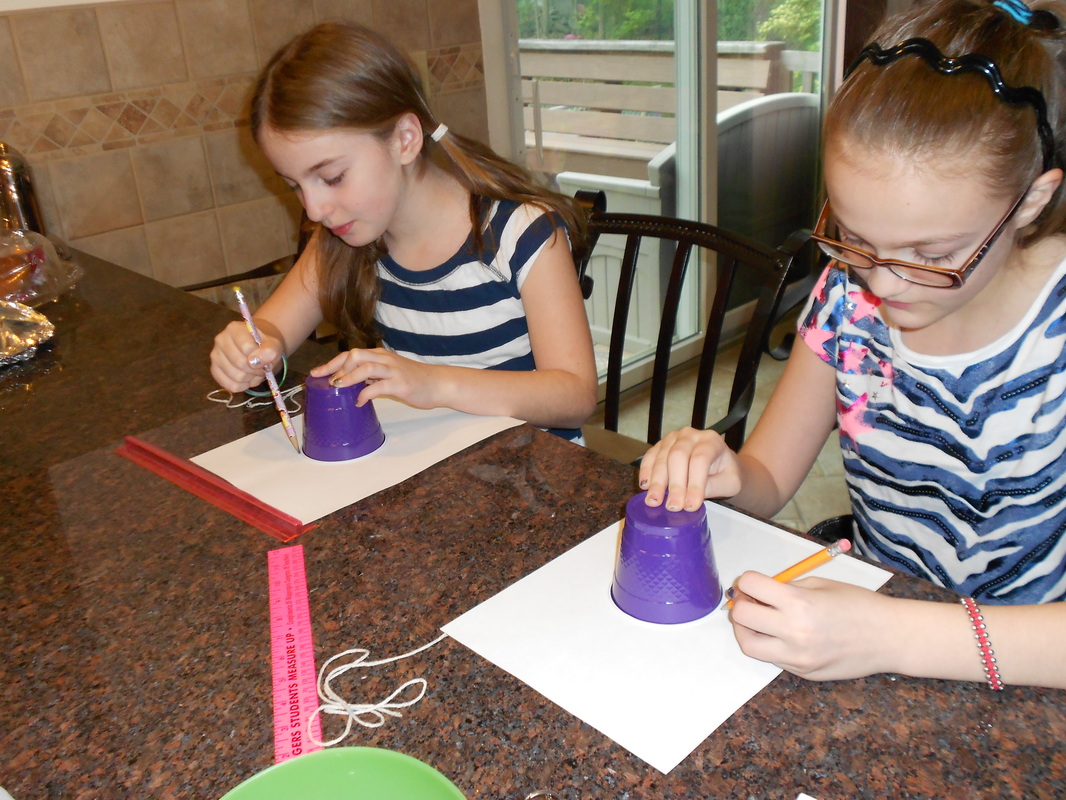
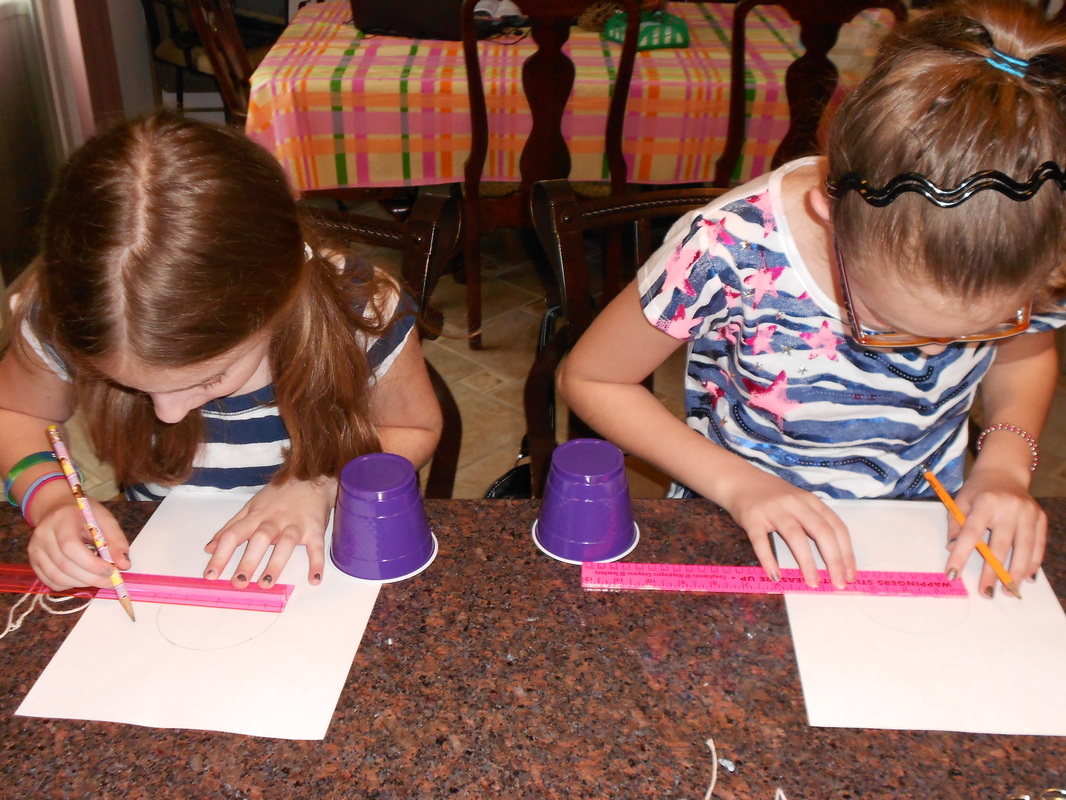
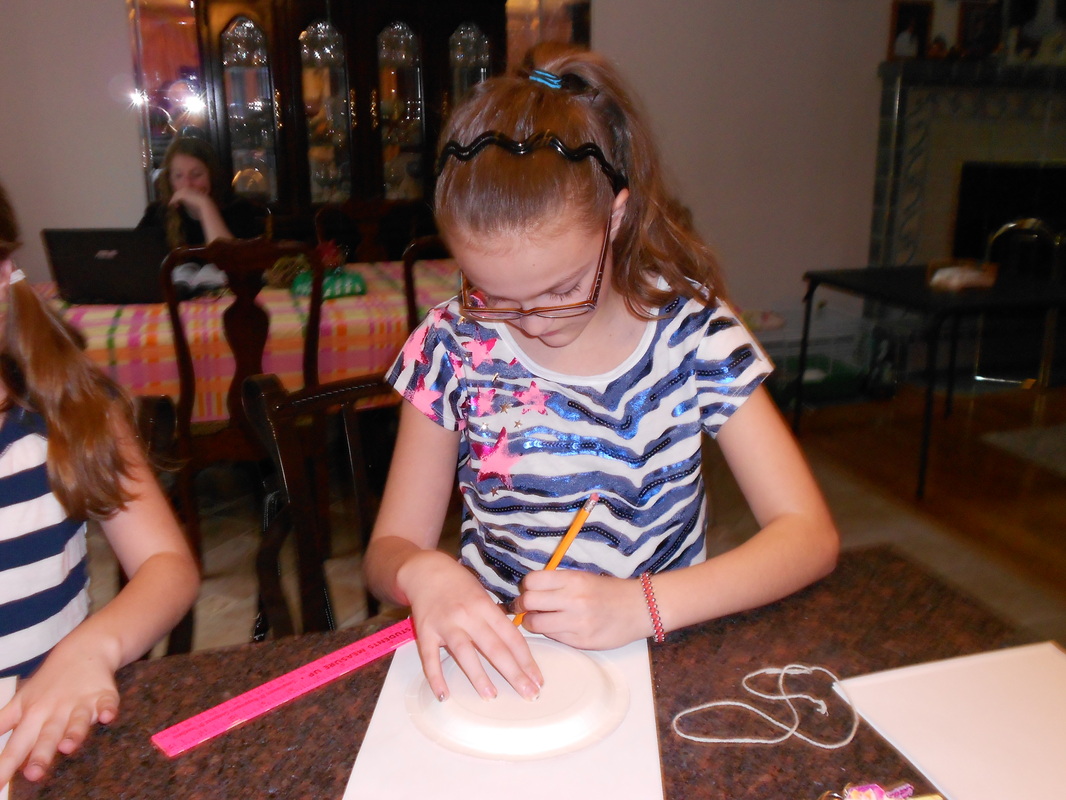
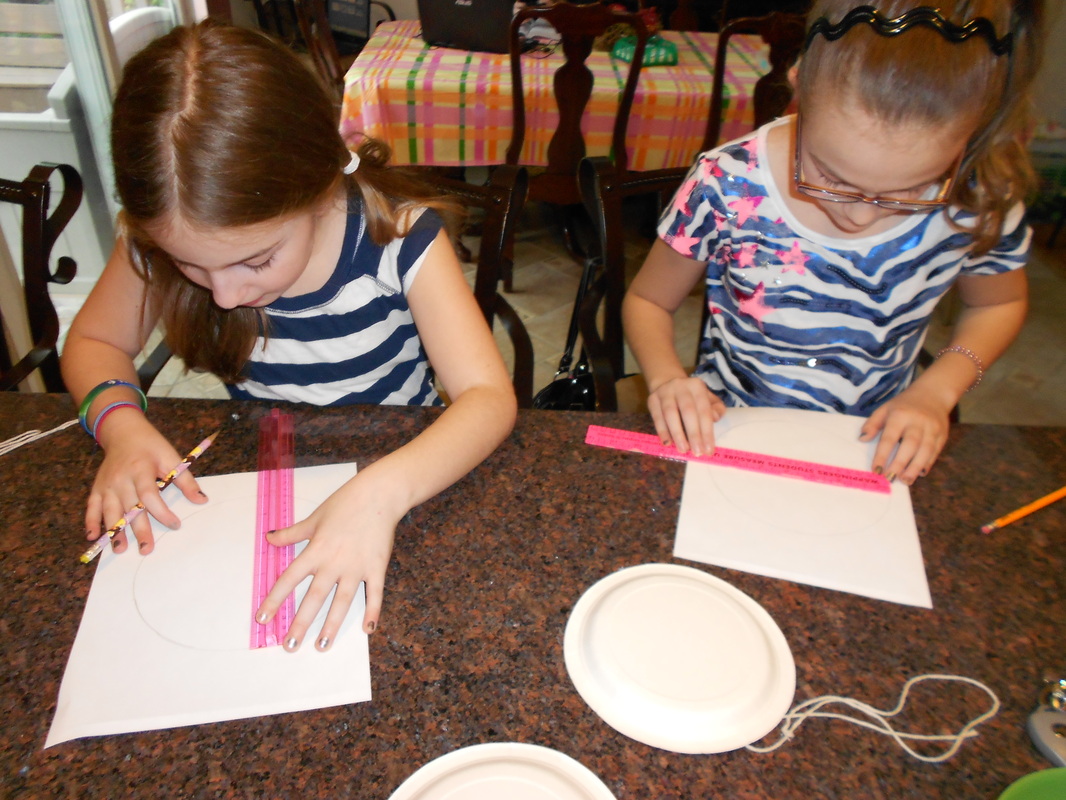
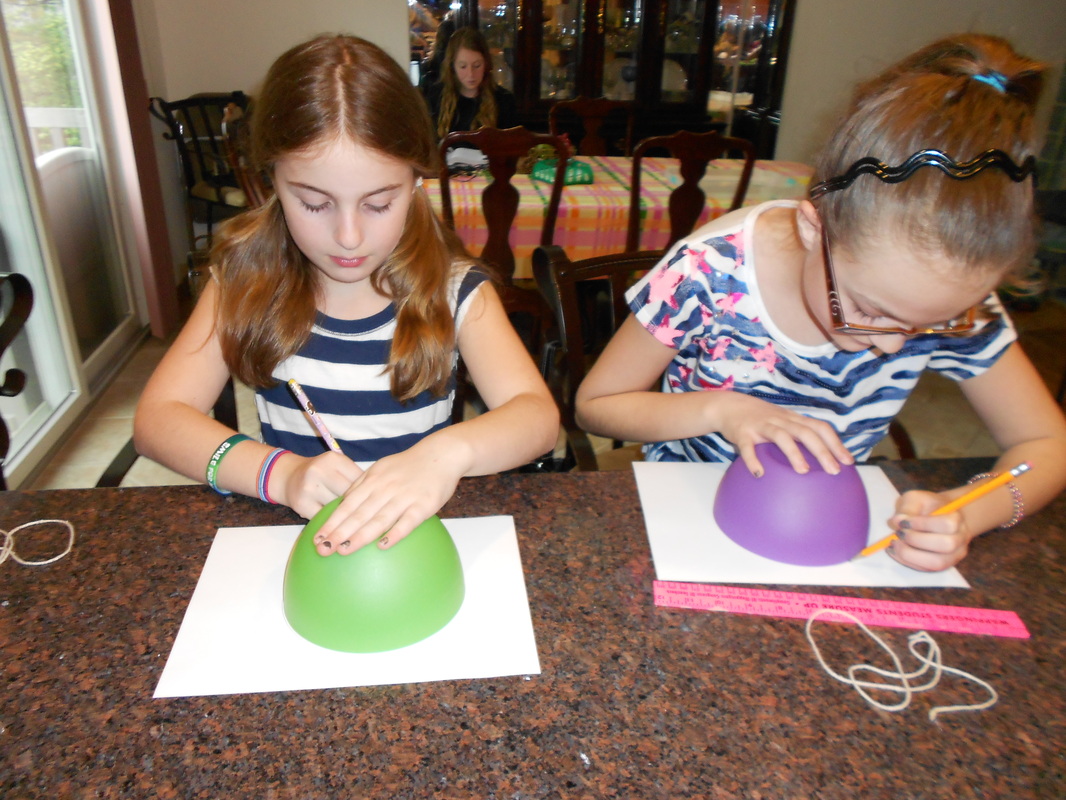
·In order to expand on this activity, the students will be asked to trace their object onto a plain piece of paper. Using a ruler, the student will draw a line through the center of the circle. This is called the diameter. The students can then measure the diameter with a ruler. Now that the students know the diameter, they can calculate the circumference of the circle in a new way! The students can use the circumference formula: to find the circumference of the circle. The students will record all of their information on the worksheet provided.
·Using the circumference measurement that the students got in the second step, they could also use the equation: . We know that Pi is the ratio of a circle’s circumference to its diameter.
·The students will also be asked to draw a line from the center of the circle to any point along the outside of the circle. This is called the radius. The students can then use the equation: . Again, we know that Pi is the ratio of a circle’s circumference to its diameter.
·Repeat this procedure for any additional objects. Using different sized objects is recommended.
***Below are photos of two students completing this hands on activity!***
Activity:
Circumference, Diameter, Radius, Oh My!
Goals:
·The student will understand how to calculate the circumference of a circle using different objects.
·The student will understand that Pi is the ratio of a circle’s circumference to its diameter.
Objective:
·Given three different objects, the student will calculate the circumference of each object with 100% accuracy.
Materials:
·Pen/pencil
·Ruler
·String
·Paper
·Plate
·Bowl
·Cup
·Worksheet
Vocabulary:
·Circumference: The distance around a closed curve (i.e. a circle or an ellipse).
·Diameter: The distance across a circle through the center.
·Radius: The distance from the center of a circle to any point along the edge of the circle.
·Pi: The ratio of a circle’s circumference to its diameter.
Procedure:
·First, I will assess the students’ prior knowledge by reviewing the vocabulary terms listed above. This will ensure that the students understand what the circumference actually is.
·Next, the students will be given an object and a piece of string. They will be asked to wrap the piece of string around the object. They will then create a mark on the string where the ends meet. Using a ruler, the students will measure the piece of string up to where they drew the mark. The measurement that they will get is the circumference of the circular object. This will allow the students to see the definition of circumference in action.
·In order to expand on this activity, the students will be asked to trace their object onto a plain piece of paper. Using a ruler, the student will draw a line through the center of the circle. This is called the diameter. The students can then measure the diameter with a ruler. Now that the students know the diameter, they can calculate the circumference of the circle in a new way! The students can use the circumference formula: to find the circumference of the circle. The students will record all of their information on the worksheet provided.
·Using the circumference measurement that the students got in the second step, they could also use the equation: . We know that Pi is the ratio of a circle’s circumference to its diameter.
·The students will also be asked to draw a line from the center of the circle to any point along the outside of the circle. This is called the radius. The students can then use the equation: . Again, we know that Pi is the ratio of a circle’s circumference to its diameter.
·Repeat this procedure for any additional objects. Using different sized objects is recommended.
***Below are photos of two students completing this hands on activity!***
Object 1: Plastic cup
|
|
Object 2: Paper plate
|
|
Object 3: Bowl
|

|